Library Is Hidden Mac
Mar 21, 2018 Both these Library folders are hidden, but inside them are folders and files that hold things like preferences for apps. In this article, we’ll tell you how you can view hidden files on your Mac and make your Library folder visible. What are the hidden files on Mac? The hidden files are a throwback to macOS’ Unix roots. By default, the /Library folder is hidden in Lion. This is a big problem to many of the readers of this site, as many hints involve this folder (especially any involving hidden preferences).
The Library Menu item is hidden by default on Macs, to prevent the possibility of inexperienced users deleting important files in the Library Folder. In this article, you will find different methods to reveal the hidden Library Menu and access the Library Folder on your Mac.
- Hidden Library: Find all the hidden objects in the Library. You have a limited amount of turns and after completing a complete category of objects new turns will be added. Update July 18, 2013: Fixed scoring bug. A Hidden Objects game.
- Dec 13, 2016 The Library folder for the users on a Mac is always hidden as Apple just doesn’t want you to access it as it thinks you don’t need access to it. However, macOS does provide an option to see this folder and access its contents, but you should only do that if you know what you are doing as a single mistake may mess-up everything in there.
Access Library Folder On Mac
Show Hidden Files Mac
The Library Folder on your Mac contains Preference Files, Caches, and Application Support Data.
Library Hidden Mac
While regular Mac users may not find the need to access the Hidden Library Folder, advanced Mac users will at times come across the need to access files inside the Library Folder for troubleshooting and other purposes.
One example of the need to access the Library Folder on Mac would be to rebuild the Database Files in the Library Folder, in order to fix Launchpad related issues like Apps Missing From Launchpad or deleted Apps showing up in the Launchpad.
Before going ahead with the steps to Access the Hidden Library Folder on your Mac, you need to be aware that ~/Library Folder contains important Data and Files related to Mac User Accounts.

Hence, make sure that you are accessing the Library Folder for a good reason and you do know as to what you are trying to achieve.
Mac Finder Show All Files
Access Hidden Library Menu Option On Mac
Follow the steps below to access the Hidden Library Menu option on your Mac.
1. Left-click your mouse anywhere on the screen of your Mac. This will reveal the Go Option in the top menu bar of your Mac. You can also click on the Finder Icon in the Dock of your Mac to activate the Go Option.
2. Next, click on the Go option in the top menu-bar of your Mac.
3. While you are still on the Go option, press and hold the Option key on your Mac and then click on the Library option that appears when you press down the Option Key.
Note: Press the Alt Key in case you are using a Windows keyboard with your Mac.
4. Clicking on the Library Menu option will take you straight to the Library Folder on your Mac.
Access Library Folder On Mac Using “Go to Folder” Option
Another way to access the Library Folder on your Mac is by using the Folder Option on your Mac.
1. Left-click your mouse anywhere on the screen of your Mac to reveal the Go Option in the top menu bar. You can also click on the Finder Icon in the Dock of your Mac to activate the Go option.
2. Next, click on the Go option from the top menu-bar on your Mac and then click on Go to Folder… option in the drop-down menu (See image below).
3. In the search window that appears, type ~/Library, and click on the Go button.
This will immediately take you to the Library Folder on your Mac.
Permanently Unhide the Library Menu Option On Mac
You can permanently unhide the Library Menu Option in the top-menu bar on your Mac by using the Terminal Command. The process is reversible and you can easily go back to the default hidden Library Menu Setting by using the Terminal command once again.
1. Click on the Finder icon in the dock of your Mac to activate the Go option in the top Menu bar of your Mac.
2. Next, click on the Go option in the top menu-bar and then click on the Utilities option in the drop-down menu.

3. On the Utilities window, open the Terminal App by clicking on it.
4. Next, type chflags nohidden ~/Library/ and Press the Enter key to submit your command for execution.
Once the command is executed, you will see the Library Option clearly visible and permanently unhidden in the top menu-bar of your Mac.
As mentioned above, you can always go back to the default hidden Library option on your Mac by executing a simple command in the Command Prompt Window.
1. To hide the Library option, type chflags hidden ~/Library/ in the Command prompt window (See image below)
2. After typing the Command, hit the Enter key on the Keyboard of your Mac to execute this Command.
Once the Command is executed, you will see the Library Menu option becoming hidden.
Mar 03, 2020 iCloud Photos works with the Photos app to keep your photos and videos securely stored in iCloud, and up to date on your iPhone, iPad, iPod touch, Mac, Apple TV, and iCloud.com. How it works iCloud Photos automatically keeps every photo and video you take in iCloud, so you can access your library from any device, anytime you want. 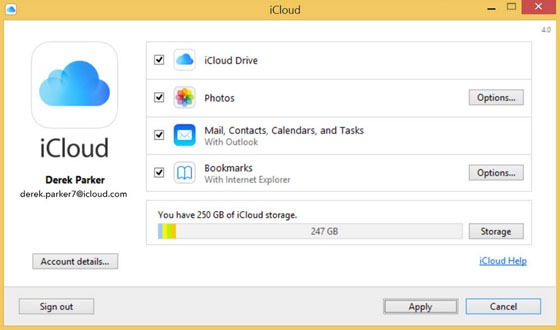 Mar 18, 2020 Quit Photos. In the Finder, go to the external drive where you want to store your library. In another Finder window, find your library. The default location is Users username Pictures, and it's named Photos Library. Drag your library to its new location on the external drive. Jan 05, 2020 How to set up iCloud Photo Library on your Mac. Launch the Photos app on your Mac. Select the Photos menu in the upper left corner of your screen. Go to Preferences. Click on the iCloud tab. Source: iMore. Check 'iCloud Photos.' This will begin uploading any and all.
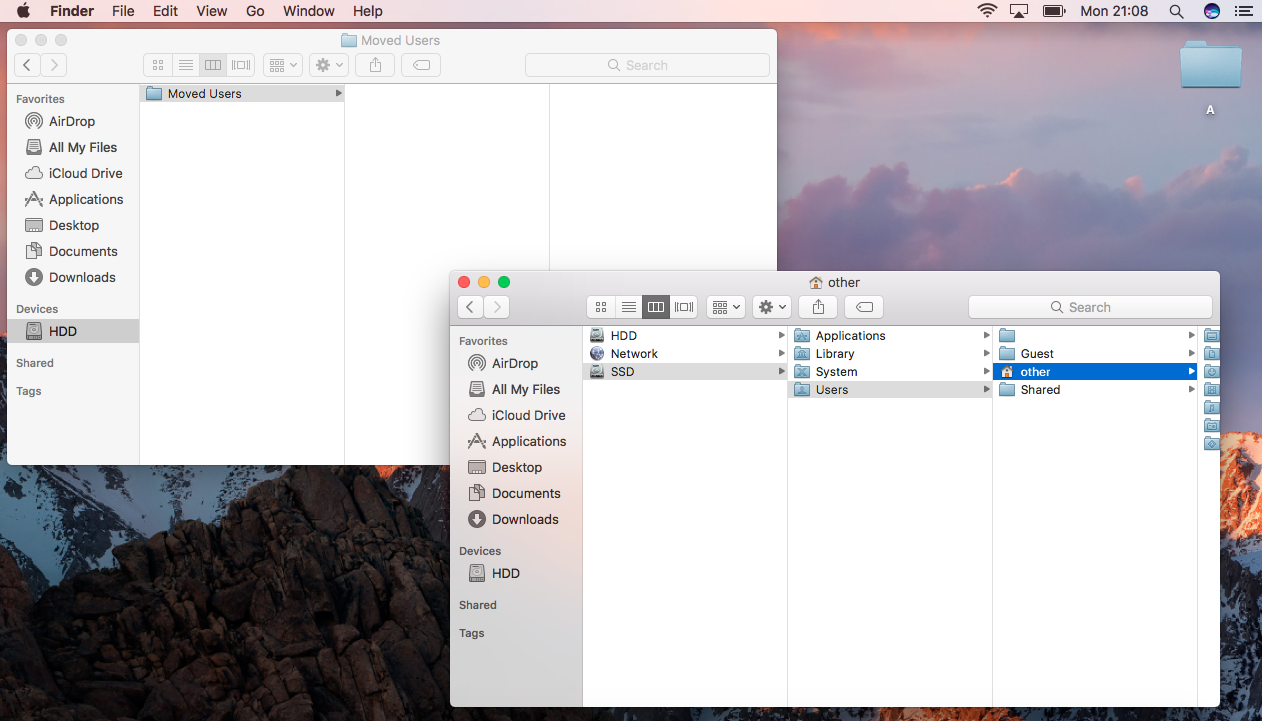